How to Upgrade to Premium
Unlock the full power of Page2Party — exclusive templates, detailed analytics, the RSVP Form Builder, and more.
What Premium unlocks
- Exclusive designer templates — access to premium-only invitation designs
- RSVP Form Builder — add custom questions, meal preferences, song requests, and more
- Advanced analytics — unique visitors, conversion rate, traffic sources, device breakdown, and country map
- Multiple invitations — manage more than one invitation from a single account
- Priority support — faster responses from our team
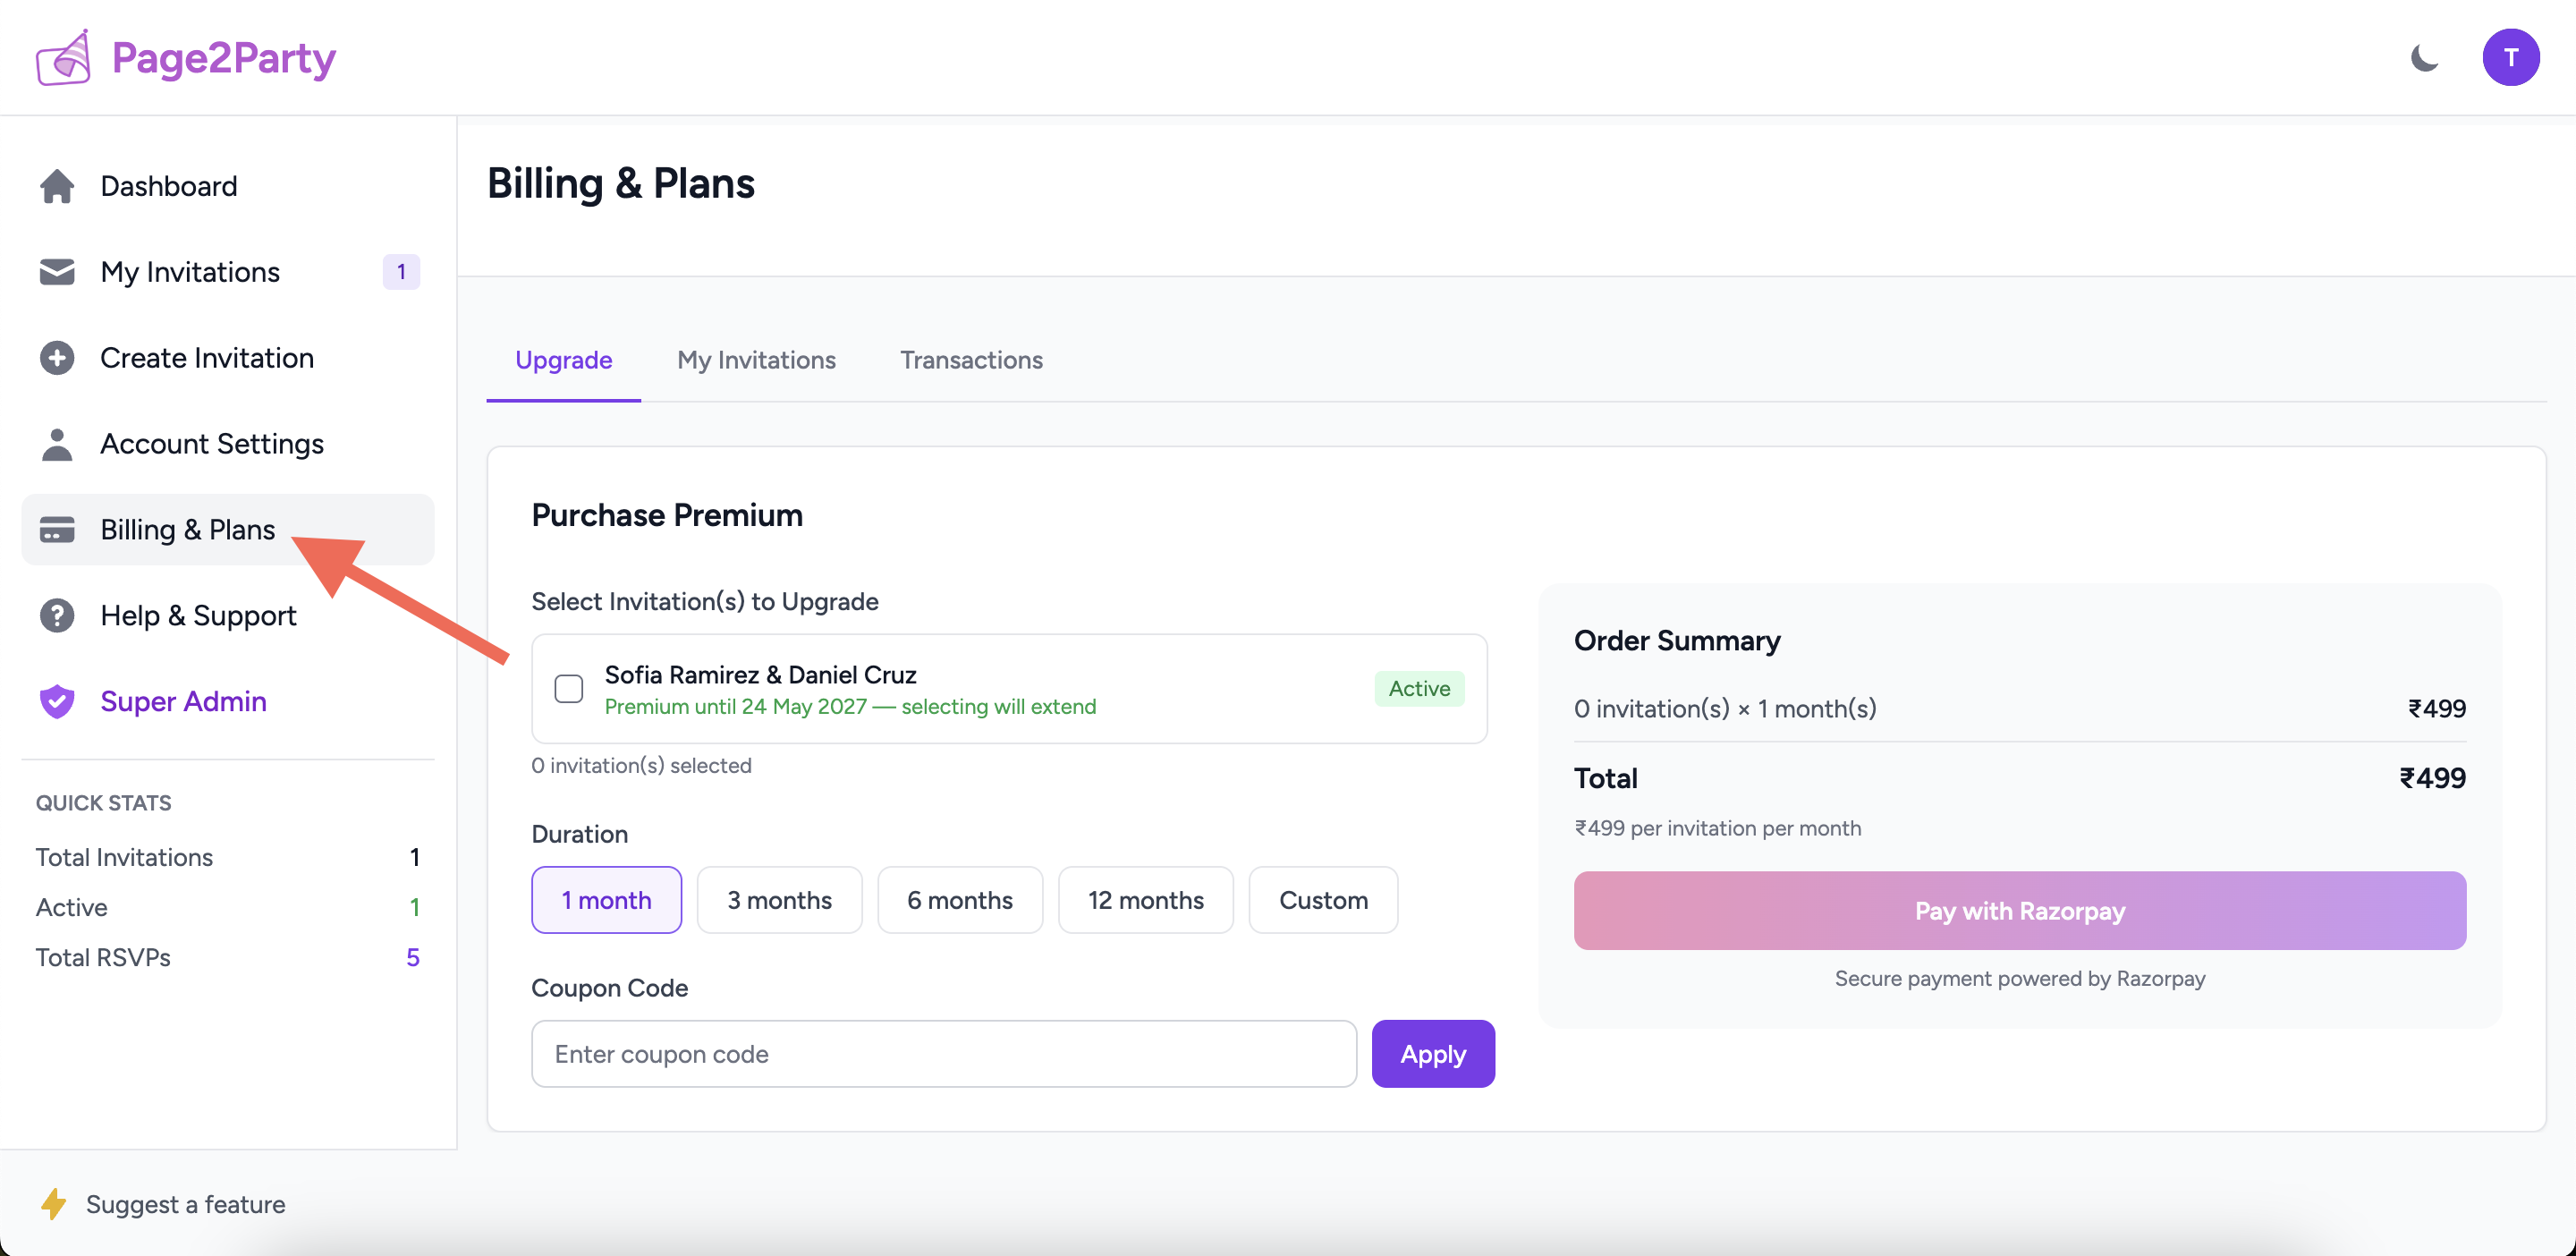
Step 1 — Go to Billing
Click Billing in your dashboard sidebar, or click the Upgrade to Premium button that appears on any locked feature (such as the Analytics or RSVP Form Builder pages).
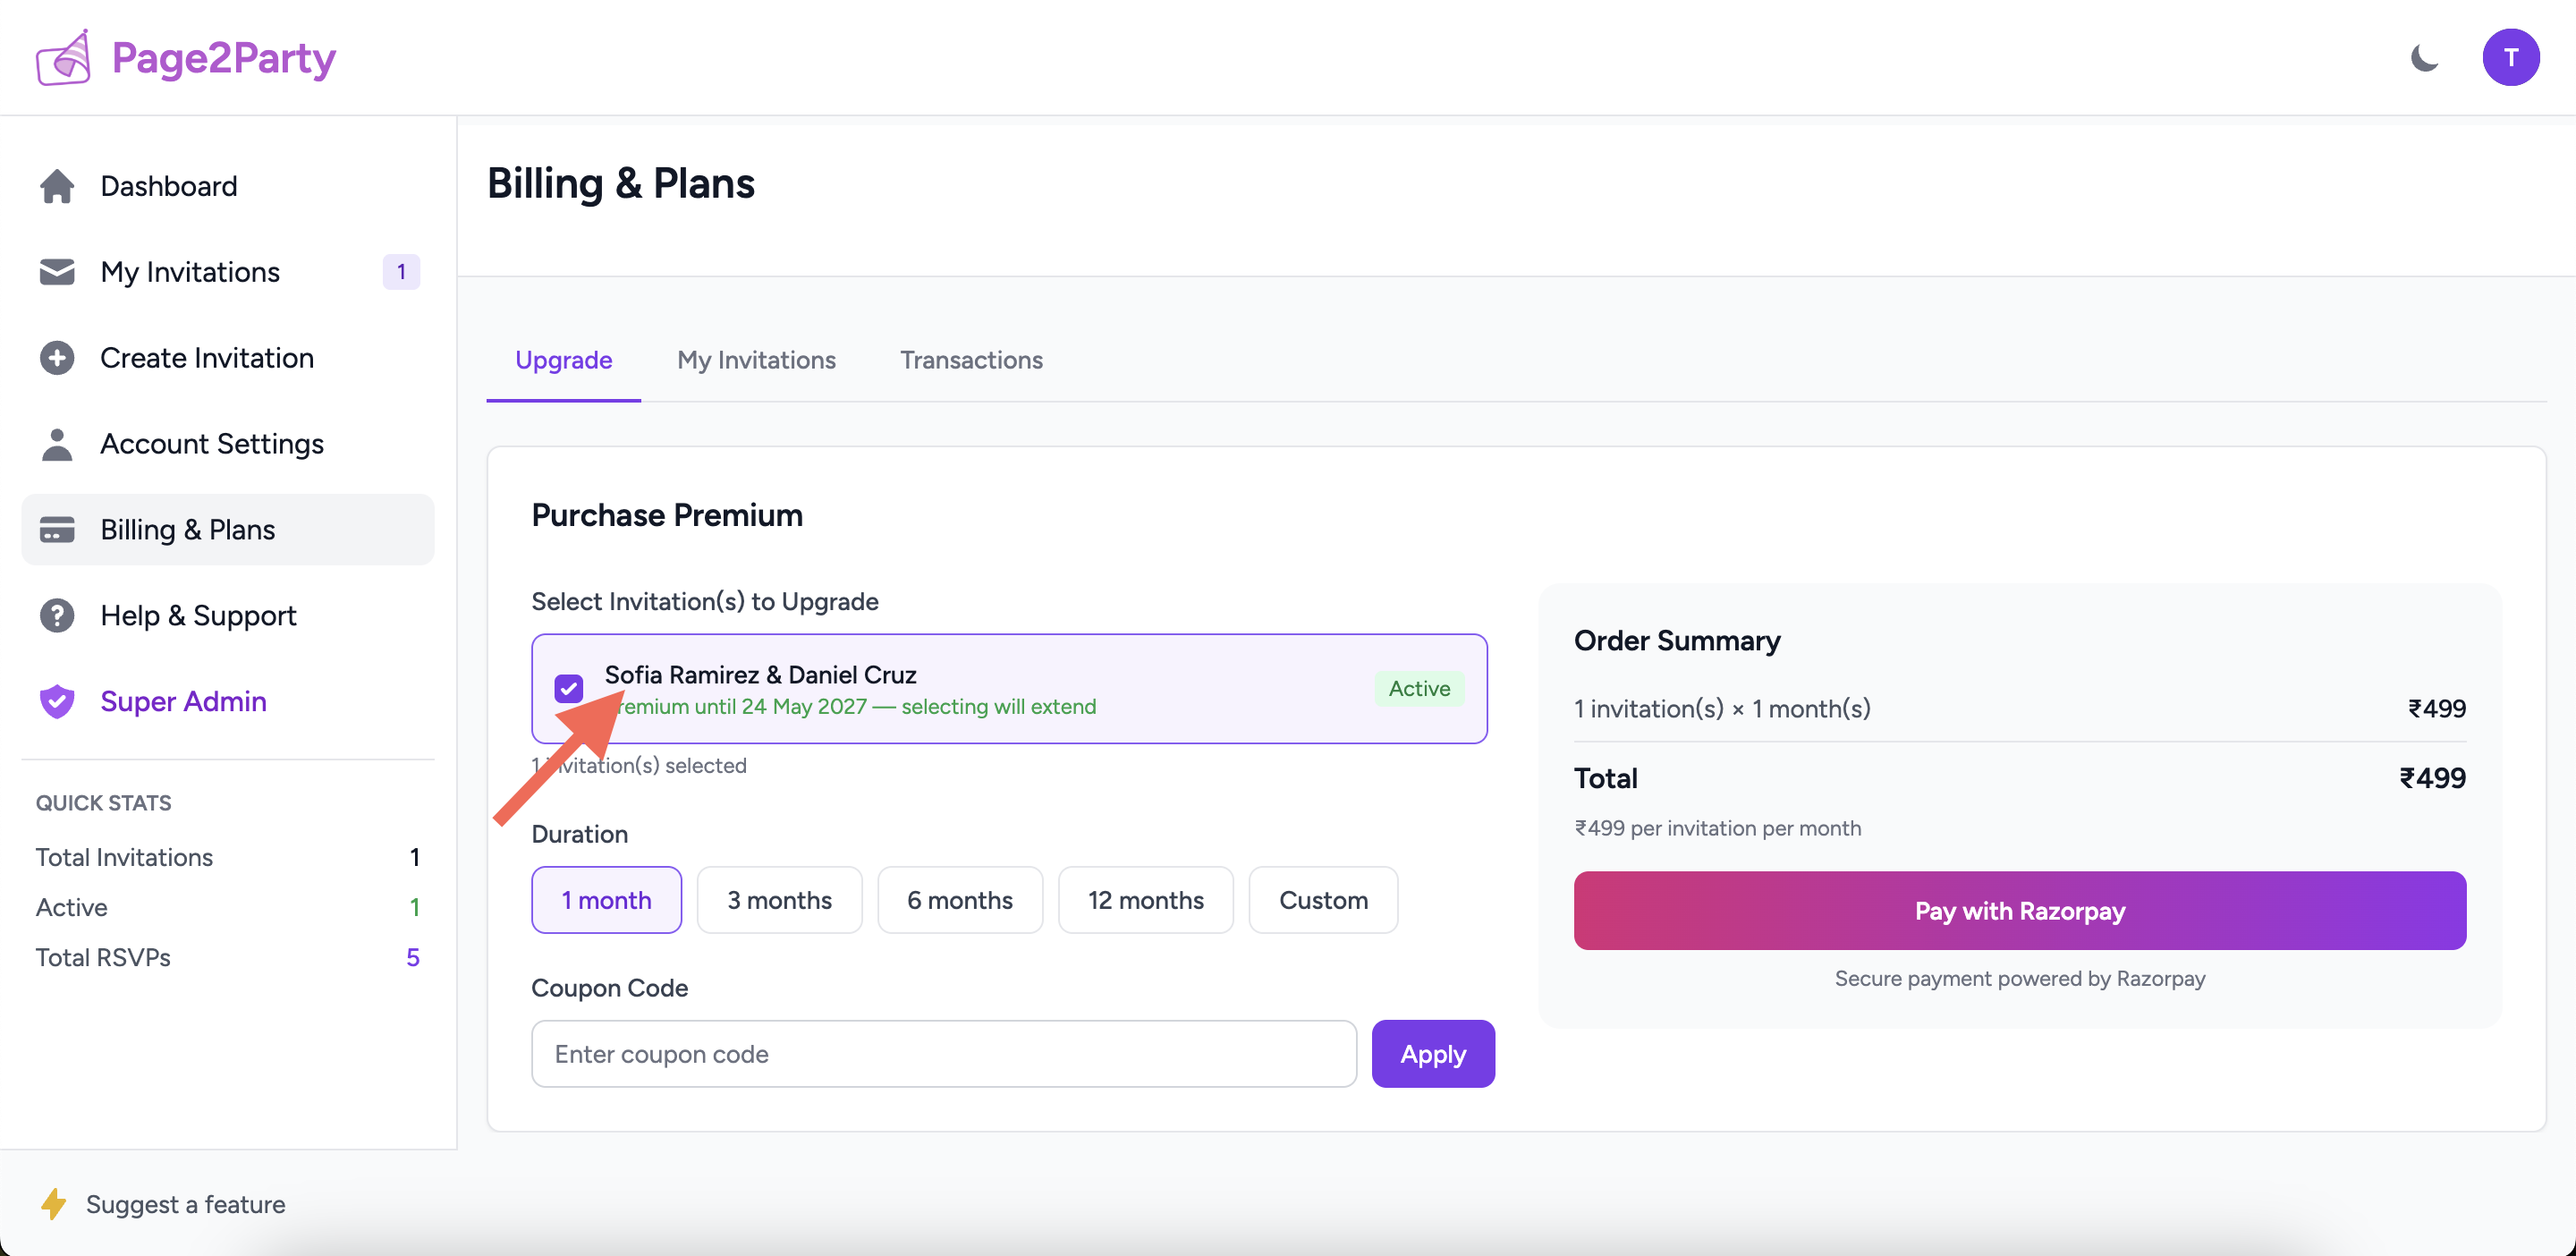
Step 2 — Select which invitation to upgrade
A scrollable list shows all your invitations. Tick the checkbox next to the invitation you want to upgrade. If an invitation already has an active Premium subscription, it will show the expiry date — you can still extend it.
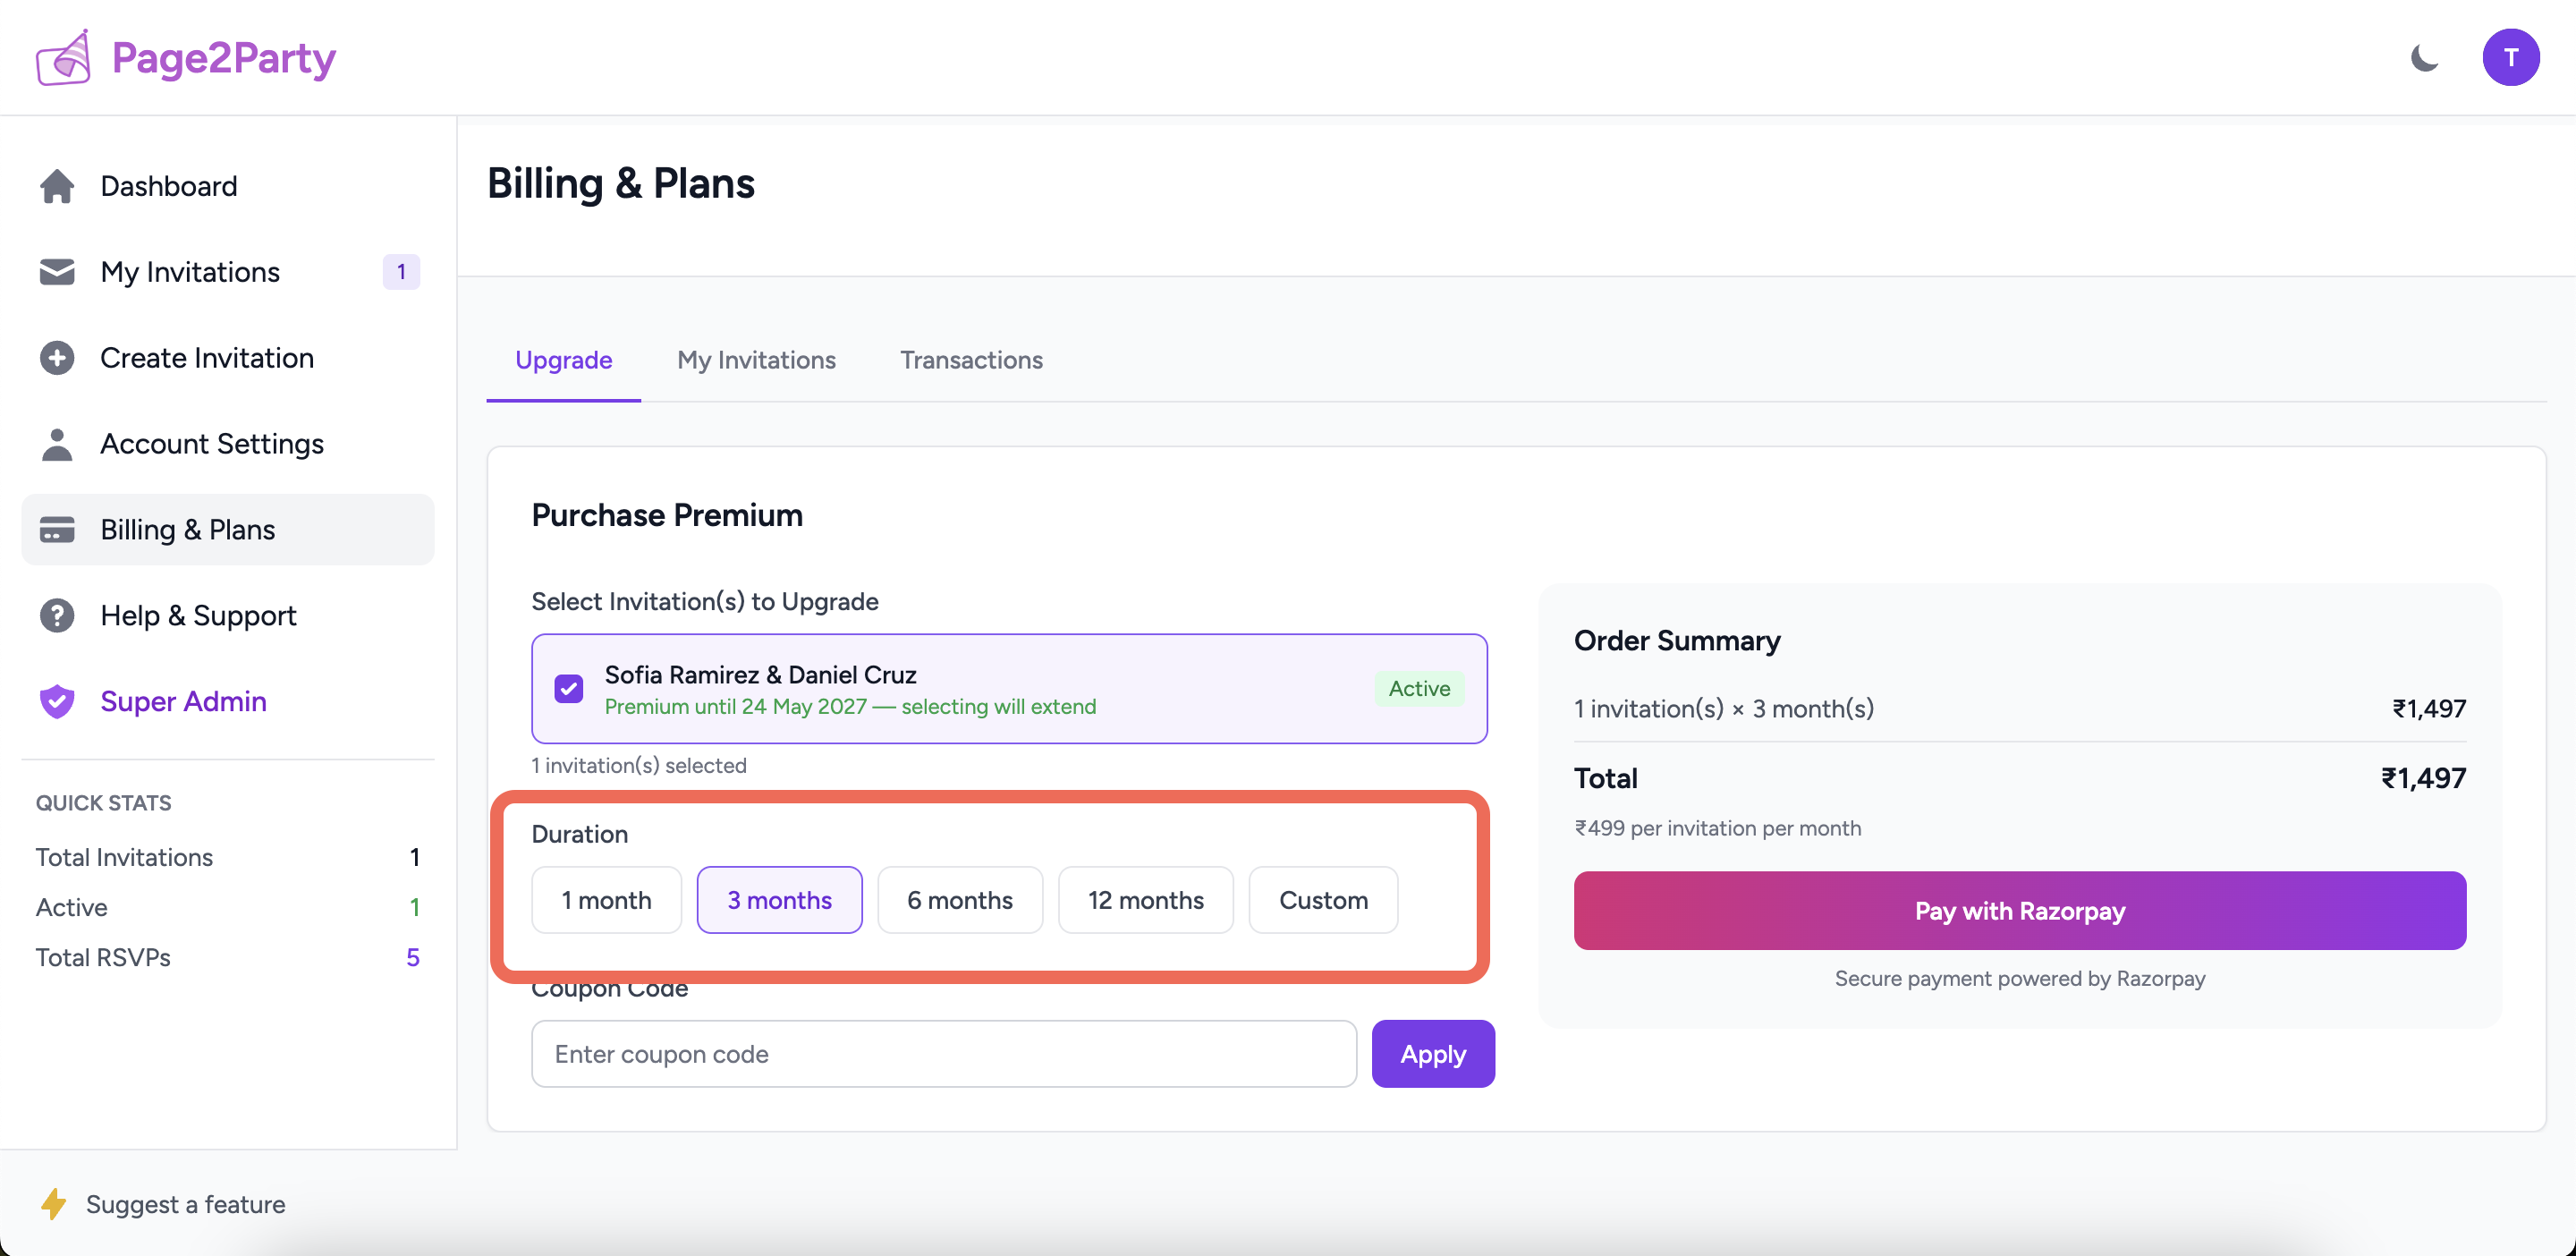
Step 3 — Choose a duration
Click a preset button — 1, 3, 6, or 12 months — or choose Custom and use the ± buttons to pick any duration from 1 to 36 months. Longer durations cost less per month.
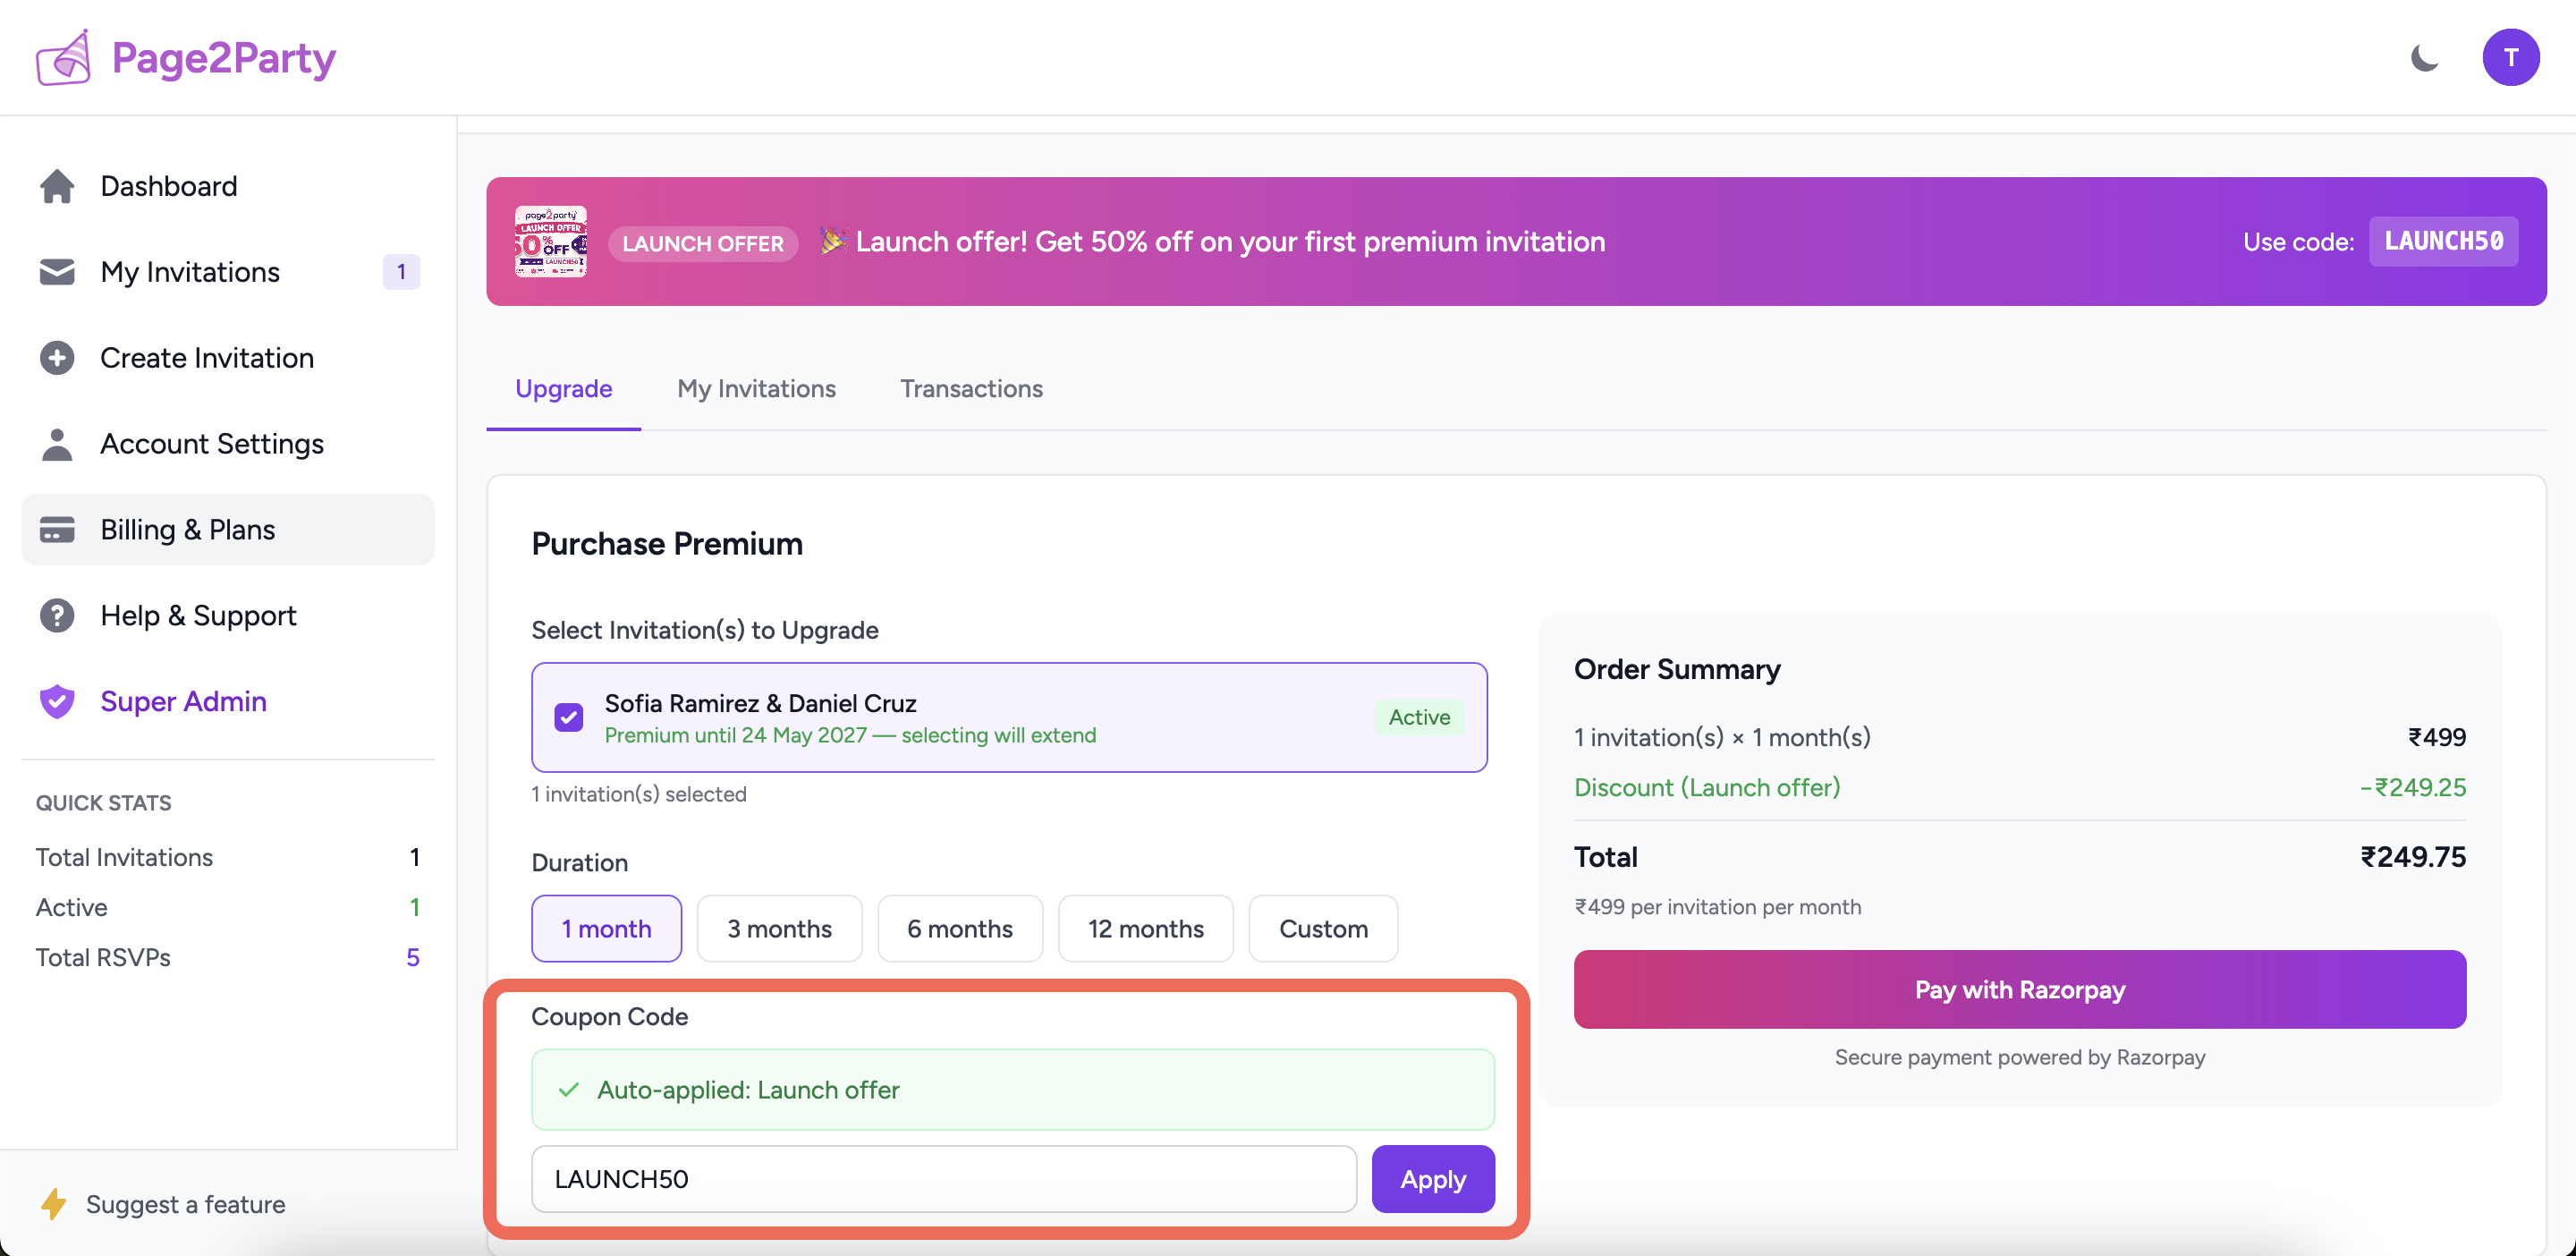
Step 4 — Apply a coupon (optional)
If you have a coupon code, enter it in the Coupon Code field and click Apply. A valid code shows a green success message and the discount appears in the order summary. If a promo is already running, it may be auto-applied — you'll see a green badge at the top of the page.
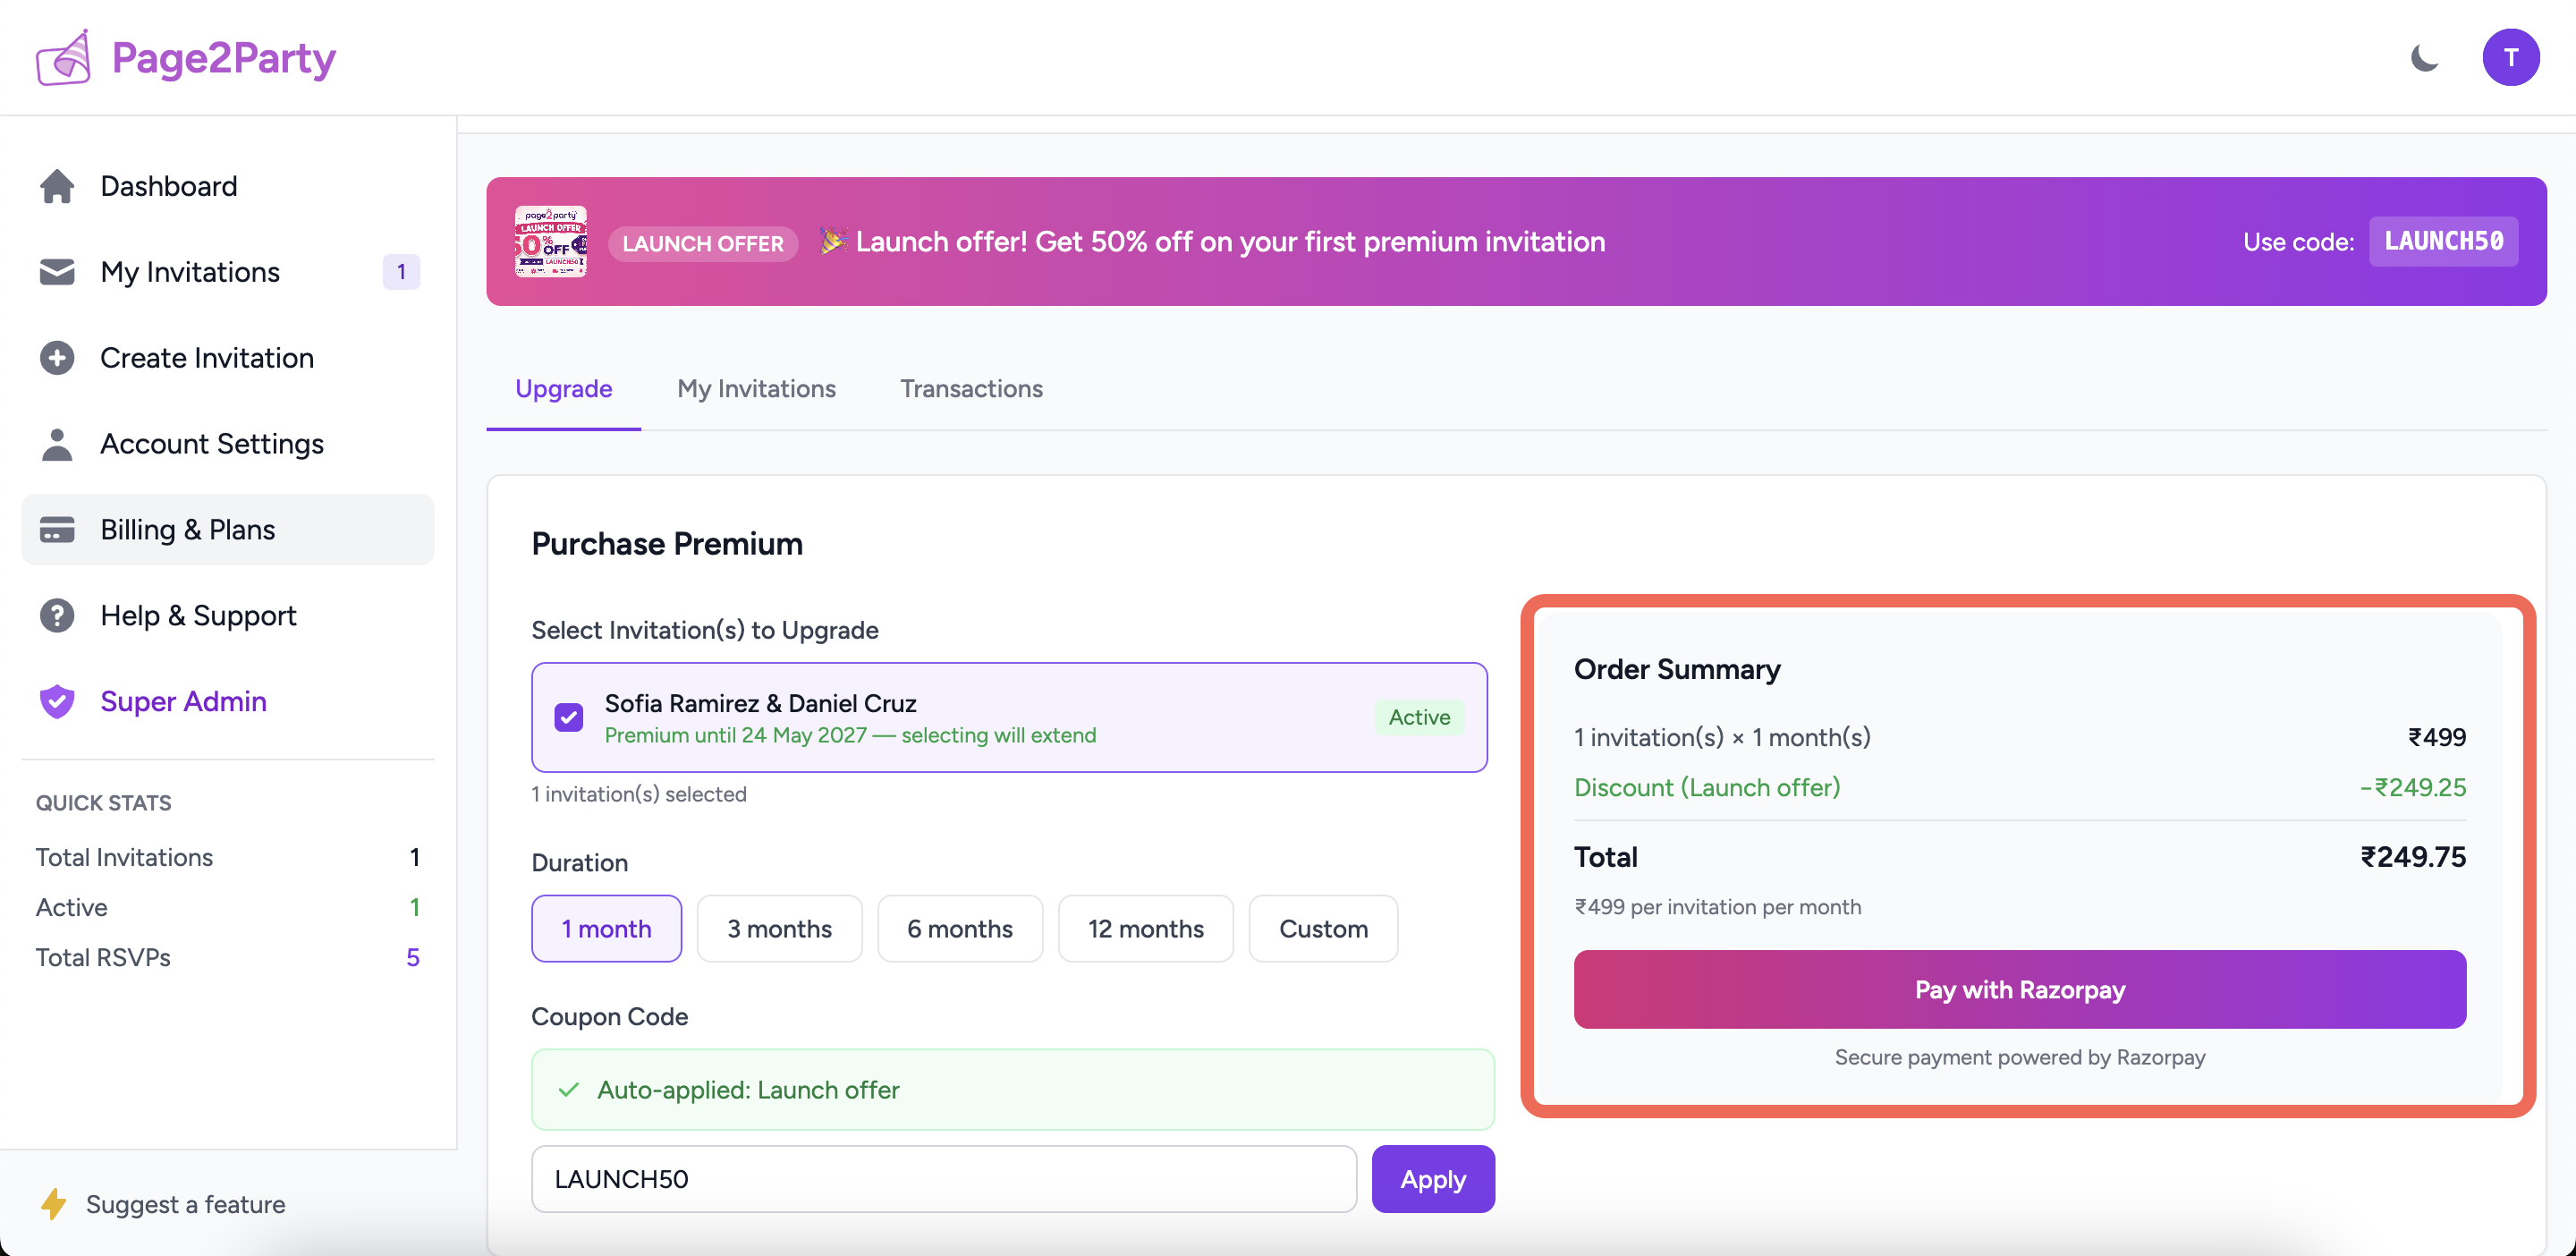
Step 5 — Review the order summary and pay
The sticky panel on the right (or at the bottom on mobile) shows:
- Number of invitations × months selected
- Discount amount (if coupon applied)
- Final total in ₹
Click Pay with Razorpay — a secure Razorpay popup opens where you can pay by UPI, card, net banking, or wallet. After payment, Premium activates on your invitation immediately.
Ready to upgrade?
Head to Billing from your dashboard to get started.